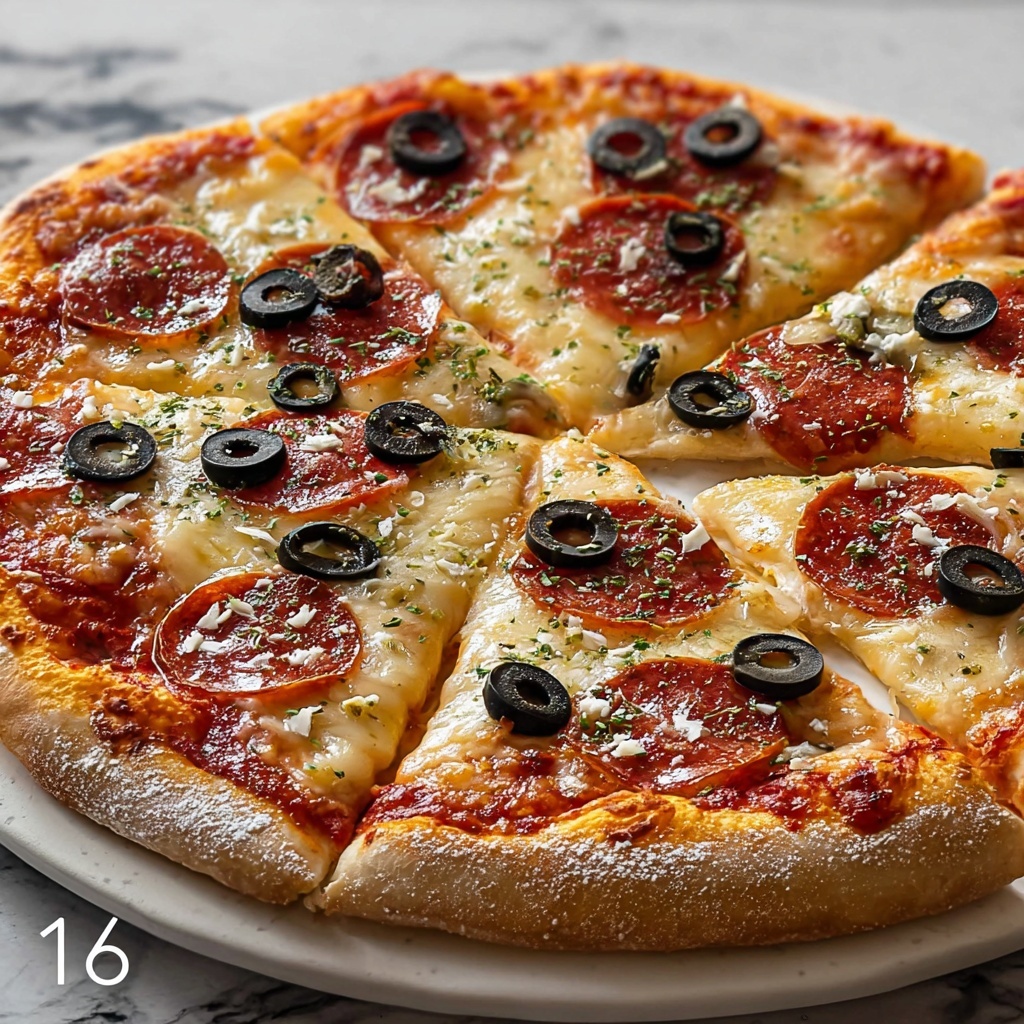
If you’ve ever wanted to whip up a quick and delicious homemade pizza without waiting around for yeast to do its magic, then this No-Yeast Pizza Crust Recipe is about to become your new best friend in the kitchen. It’s a simple, speedy dough that transforms basic pantry staples into a crisp, flavorful crust perfect for all your favorite toppings. Light, tender, and boasting just enough golden crunch, this recipe proves that a fantastic pizza crust doesn’t have to be complicated or time-consuming at all.
Ingredients You’ll Need
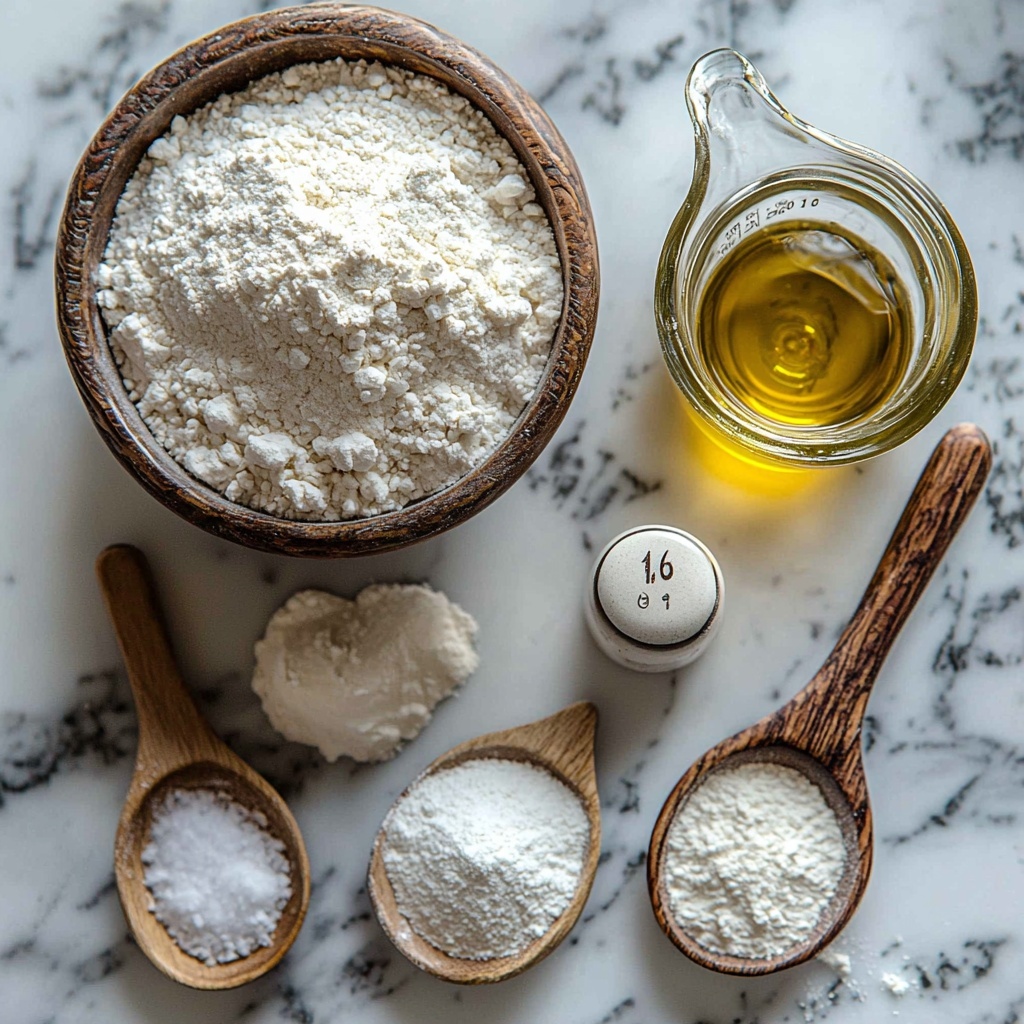
This No-Yeast Pizza Crust Recipe calls for only a handful of everyday ingredients that come together to create a wonderfully textured dough. Each component is carefully chosen to build flavor, deliver the perfect consistency, and ensure your crust browns beautifully in the oven.
- 2 cups all-purpose flour: The foundation of your dough, providing structure and chewiness.
- 1 tablespoon baking powder: This gentle leavening agent gives the crust lightness and lift without yeast.
- 1 teaspoon salt: Enhances flavor and balances all the other ingredients perfectly.
- 1 tablespoon olive oil: Adds richness, moisture, and helps create a lovely golden color.
- 3/4 cup warm water: Binds everything together to form a soft, easy-to-handle dough.
How to Make No-Yeast Pizza Crust Recipe
Step 1: Prepare Your Oven and Baking Surface
Start by preheating your oven to a high 450°F (232°C). This ensures your crust will bake quickly and develop a satisfying crispness. Line a baking sheet with parchment paper to prevent sticking and make cleanup effortless—this simple prep sets the stage for a perfect crust every time.
Step 2: Mix Dry Ingredients
In a large bowl, whisk together the all-purpose flour, baking powder, and salt. This step is key to evenly distributing the baking powder and salt, ensuring your crust rises uniformly and tastes balanced throughout.
Step 3: Add Wet Ingredients and Form Dough
Create a small well in the center of the dry mixture, then pour in the olive oil and warm water. Stir gently until a rough dough begins to form—don’t worry if it looks a little crumbly at this point; it will come together soon!
Step 4: Knead the Dough
Turn your dough out onto a floured surface and knead it lightly for about 2 minutes until it becomes smooth and elastic. This quick kneading activates the gluten just enough to give you a tender, cohesive crust without waiting around for yeast.
Step 5: Shape the Crust
Roll out or press the dough into your preferred pizza shape, aiming for roughly half an inch thickness. Keep it on your prepared baking sheet to simplify the transfer to the oven and avoid breaking the dough.
Step 6: Bake and Finish
Bake your crust for about 10 minutes or until it turns golden brown, forming a sturdy base. Remove from the oven to add your sauce, cheese, and favorite toppings, then pop it back into the oven until the cheese melts and bubbles beautifully—this finishing bake truly brings your pizza to life.
How to Serve No-Yeast Pizza Crust Recipe
Garnishes
This crust pairs wonderfully with fresh basil leaves, a drizzle of extra virgin olive oil, or even a sprinkle of red pepper flakes for a little kick. Simple garnishes like freshly cracked black pepper or a dusting of Parmesan can take your pizza from good to gourmet in seconds.
Side Dishes
Complement your pizza with crisp garden salads, roasted vegetables, or classic sides like garlic bread or Caesar salad. A light, refreshing side balances the richness of the cheesy, crispy crust beautifully.
Creative Ways to Present
Why not try this No-Yeast Pizza Crust Recipe as individual mini pizzas for a fun party platter? Or shape the dough into flatbreads topped with herbs and olive oil for an appetizer twist. The versatility of this dough makes it perfect for experimenting and impressing your guests.
Make Ahead and Storage
Storing Leftovers
Leftover pizza crust or whole pizzas can be wrapped tightly in foil or plastic wrap and stored in the refrigerator for up to 2 days. This way, you can enjoy your delicious creation again without any loss of freshness.
Freezing
To freeze this pizza crust dough, shape it first and then wrap it well in plastic wrap and a layer of foil. Freeze for up to a month. When ready, thaw overnight in the fridge and bake as usual. Freezing makes it a real time-saver for busy nights.
Reheating
For the best texture, reheat leftover pizza in a hot oven or toaster oven at 375°F until the crust crisps back up and the cheese re-melts. Avoid microwaving if you want to keep that wonderful crunch.
FAQs
Can I use whole wheat flour instead of all-purpose flour?
Absolutely, though whole wheat will make the crust denser and give it a nuttier flavor. You might want to combine whole wheat with all-purpose flour to keep the texture lighter.
Is baking powder the only leavening agent I can use?
Baking powder is preferred here because it provides immediate lift without the waiting time yeast needs. Baking soda can be used but only if combined with an acid, like vinegar or lemon juice, which changes the flavor profile.
Can I add herbs or spices directly into the dough?
Definitely! Adding dried oregano, garlic powder, or Italian seasoning into your flour mixture can infuse your crust with extra flavor and make your pizza even more delicious.
How thick should the crust be rolled out?
A half-inch thickness is ideal for this recipe. It bakes evenly and crisps nicely while maintaining a tender bite—any thicker and it might become doughy, thinner and it could get too crunchy.
Is this crust suitable for gluten-free diets?
This specific No-Yeast Pizza Crust Recipe uses all-purpose flour, which contains gluten. However, you can experiment with gluten-free flour blends, but results vary and may require additional adjustments.
Final Thoughts
I truly hope you give this No-Yeast Pizza Crust Recipe a go because it’s one of those kitchen wins that feels like magic—quick, simple, and so satisfying. Whether you’re last-minute pizza-making or just want a delicious crust without the fuss of yeast, this recipe is a crowd-pleaser you’ll want to keep in your back pocket. Happy baking and even happier eating!
Print
Delicious Recipe
- Prep Time: 10 minutes
- Cook Time: 10 minutes
- Total Time: 20 minutes
- Yield: 4 servings
- Category: Main Course
- Method: Baking
- Cuisine: American
Description
This No-Yeast Pizza Crust recipe offers a quick and easy way to enjoy homemade pizza without waiting for dough to rise. Made with simple ingredients like flour, baking powder, olive oil, and warm water, it produces a tender, golden crust baked in just 10 minutes, perfect for a fast and delicious meal.
Ingredients
Dry Ingredients
- 2 cups all-purpose flour
- 1 tablespoon baking powder
- 1 teaspoon salt
Wet Ingredients
- 1 tablespoon olive oil
- 3/4 cup warm water
Instructions
- Preheat Oven: Preheat your oven to 450°F (232°C) and line a baking sheet with parchment paper to prevent sticking and for easy cleanup.
- Mix Dry Ingredients: In a large mixing bowl, whisk together the all-purpose flour, baking powder, and salt to evenly distribute the leavening and seasoning.
- Add Wet Ingredients: Create a well in the center of the dry ingredients, then pour in the olive oil and warm water. Mix with a spoon or your hands until a rough dough starts to form.
- Knead the Dough: Transfer the dough to a floured surface and knead for about 2 minutes until the dough becomes smooth and elastic, ensuring a good texture.
- Shape the Crust: Roll out or press the dough into your desired pizza shape on the prepared baking sheet, aiming for about 1/2 inch thickness to achieve a nice crust thickness.
- Initial Bake: Bake the crust in the preheated oven for approximately 10 minutes or until it turns golden brown to set the base before adding toppings.
- Add Toppings and Finish Baking: Remove the crust from the oven, spread your preferred sauce and toppings, then return to the oven until the cheese melts and becomes bubbly, about 5-10 more minutes.
Notes
- Warm water helps activate the baking powder for better rising.
- Do not over-knead to keep the crust tender.
- You can customize toppings as desired after the first bake.
- Use parchment paper to avoid sticking and ease cleanup.
- This crust is best eaten fresh but can be stored in an airtight container for up to 2 days.


