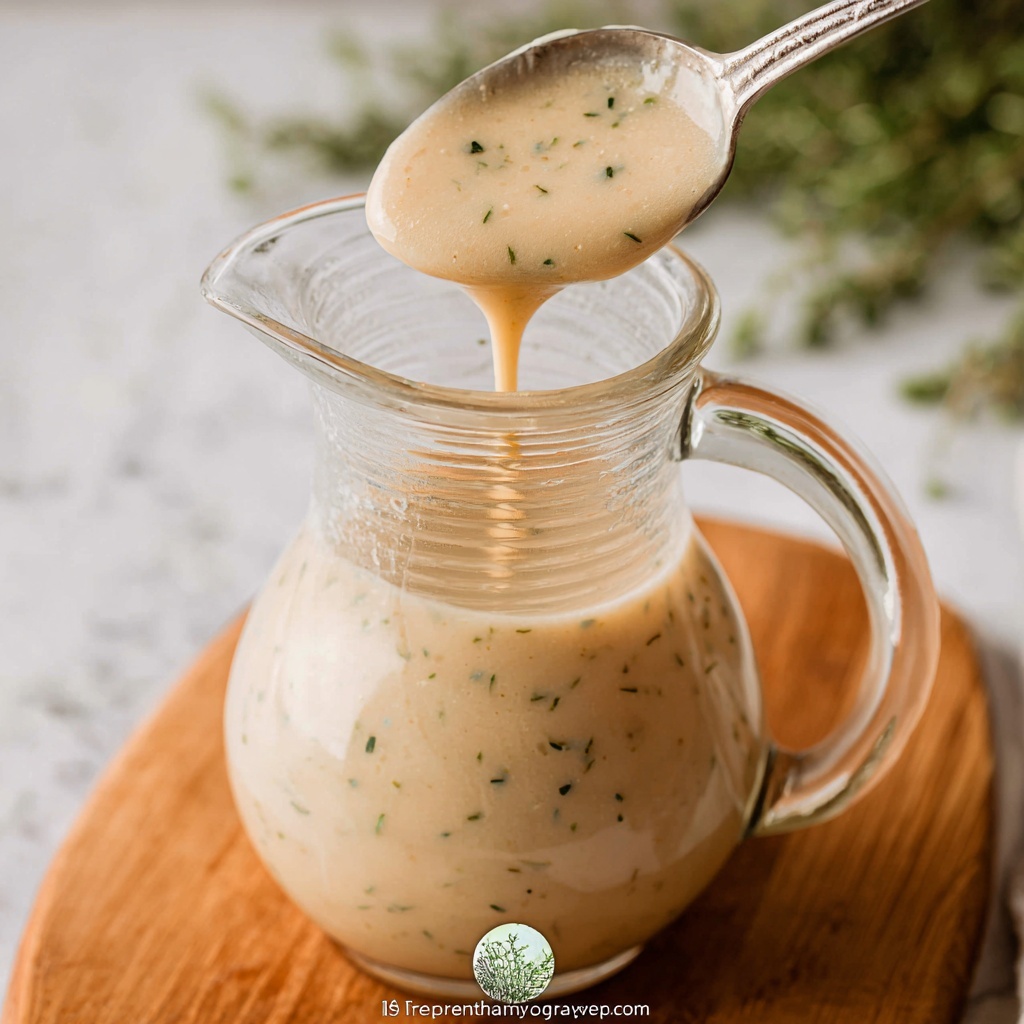
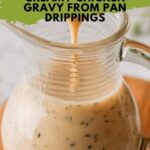
If you’ve ever wondered how to turn those glorious pan drippings into a luscious sauce that elevates any chicken dinner, you’re in for a treat. This Creamy Homemade Chicken Gravy from Pan Drippings Recipe is exactly what your roast or skillet-cooked chicken has been waiting for. Rich, silky, and bursting with savory depth, this gravy captures every bit of flavor left behind, transforming humble drippings into a show-stopping complement that will have everyone asking for seconds. Follow along, and you’ll see how easy it is to create a sauce that’s both comforting and irresistibly delicious.
Ingredients You’ll Need
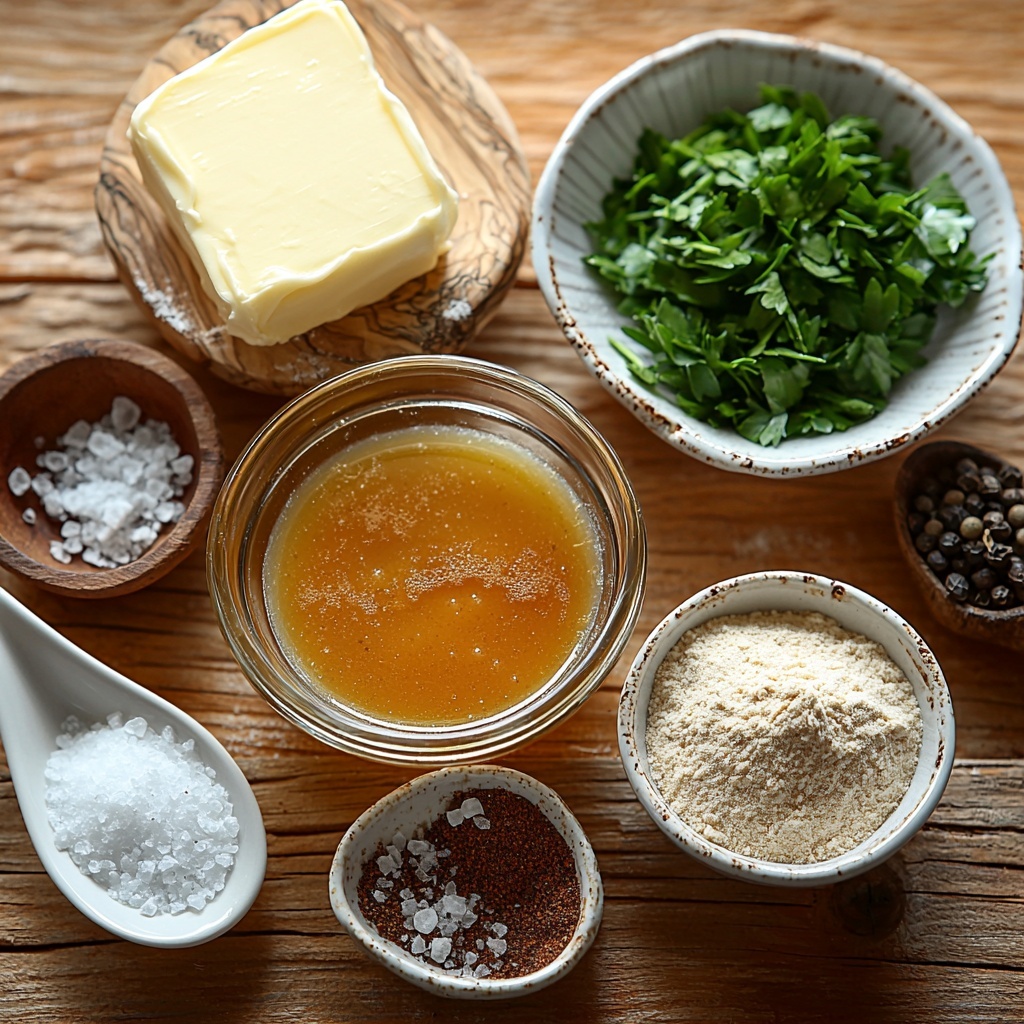
Gathering simple, quality ingredients is the first step toward gravy perfection. Each one plays a crucial role, balancing richness, seasoning, and texture to create that classic, creamy sauce that clings effortlessly to your chicken.
- ½ cup fat from drippings (or unsalted butter*): This fat is the flavor powerhouse, giving the gravy a silky and rich foundation.
- ½ cup all-purpose flour: The flour thickens the gravy, turning it from liquid to that luscious, velvety texture we love.
- ½ teaspoon poultry seasoning: Adds a subtle herbal warmth that complements the chicken perfectly.
- 3 to 4 cups drippings (add extra broth if needed): The star ingredient for deep, concentrated chicken flavor.
- 1 tablespoon chopped fresh parsley (and/or fresh herbs to taste, optional): For a burst of color and fresh, bright notes to finish the gravy.
- Salt and black pepper (to taste): Essential for seasoning and balancing all the flavors.
How to Make Creamy Homemade Chicken Gravy from Pan Drippings Recipe
Step 1: Rest and Collect Pan Drippings
After cooking your chicken to juicy perfection, let it rest while you collect those precious pan drippings. Pour off the liquid from the pan, making sure to scrape up all the delicious browned bits stuck to the bottom and sides – these are gold for flavor. If you want a smoother gravy, strain the drippings through a fine sieve for the best results.
Step 2: Separate the Fat
Next, give the drippings a few minutes to settle. The fat will naturally rise to the top, so scoop out ½ cup of this flavorful fat to use as your base. If you don’t have quite enough, simply supplement with unsalted butter. This step is key for that rich, creamy mouthfeel that defines this Creamy Homemade Chicken Gravy from Pan Drippings Recipe.
Step 3: Make a Roux with Flour and Seasoning
Now, stir the flour and poultry seasoning into the fat and cook over medium heat for 3 to 4 minutes. This cooking process helps the flour develop a light brown color and nutty aroma, which adds a beautiful depth and complexity to your gravy. Keep stirring to prevent lumps and burning.
Step 4: Slowly Add Drippings and Broth
Gradually whisk in the drippings and broth, adding just enough liquid to achieve a smooth consistency. At first, the mixture will appear thick and pasty but will begin to loosen as you add more liquid. This part calls for patience and constant whisking to make the gravy perfectly smooth without a single lump.
Step 5: Bring to a Boil and Thicken
Once all the liquid is incorporated, bring the gravy up to a boil over medium heat while whisking constantly. Allow it to boil for 1 to 2 minutes to cook out any raw flour taste and thicken to your preferred consistency. This crucial step ensures your gravy is creamy and rich, spotlighting every flavor from the drippings.
Step 6: Season and Garnish
Finally, taste and adjust the seasoning with salt and black pepper. Stir in fresh parsley or other herbs for a lovely color contrast and a hint of freshness. Your Creamy Homemade Chicken Gravy from Pan Drippings Recipe is now ready to serve!
How to Serve Creamy Homemade Chicken Gravy from Pan Drippings Recipe
Garnishes
A sprinkle of fresh chopped parsley, chives, or even a few thyme leaves instantly brightens this gravy visually and flavor-wise. A touch of freshly cracked black pepper right before serving also adds a delightful kick. These small garnishes make your gravy look like it belongs on a restaurant plate.
Side Dishes
This gravy shines alongside classic comfort foods like mashed potatoes, roasted vegetables, stuffing, and buttery dinner rolls. It also pairs beautifully with rice or creamy polenta, adding richness and moisture that bring every bite to life.
Creative Ways to Present
Take this creamy sauce beyond the usual by drizzling it over skillet-pan fried chicken thighs, pouring it on a savory chicken pot pie, or using it as a luscious topping for chicken and waffles. For a fun twist, serve it in small dipping bowls alongside crispy chicken strips or nuggets to amp up the flavor factor.
Make Ahead and Storage
Storing Leftovers
Transfer leftover gravy to an airtight container and refrigerate. It will keep well for up to 3 days, allowing you to enjoy that delicious flavor again without extra effort.
Freezing
Creamy gravy freezes beautifully. Just let it cool completely before pouring it into a freezer-safe container or heavy-duty freezer bags. It can be frozen for up to 3 months with minimal quality loss, ready to thaw whenever a rich gravy craving strikes.
Reheating
Reheat gently on the stovetop over low heat, stirring frequently to prevent burning or separation. If the gravy has thickened too much in the fridge or freezer, whisk in a bit of warm broth to restore its creamy consistency and smooth texture.
FAQs
Can I make this gravy without pan drippings?
Absolutely! While pan drippings add unbeatable flavor, you can substitute with chicken broth and butter. The gravy will still be tasty, just a bit less rich compared to the version made with actual drippings.
What if I don’t have poultry seasoning?
No worries! You can use a mix of dried sage, thyme, and a pinch of nutmeg as a homemade poultry seasoning substitute. These herbs replicate the warm, earthy flavors that complement chicken beautifully.
How do I prevent lumps in my gravy?
The secret is whisking constantly while adding liquid slowly to the roux. This encourages smooth incorporation and keeps the flour from clumping. If lumps do form, strain the gravy or use an immersion blender to smooth it out.
Can I use this recipe for turkey drippings?
Definitely! This Creamy Homemade Chicken Gravy from Pan Drippings Recipe works wonderfully with turkey drippings too. The technique and flavors are very similar, making it perfect for any poultry roast.
Is this gravy gluten-free?
The traditional version uses all-purpose flour, which contains gluten. To make it gluten-free, substitute the flour with a gluten-free flour blend or cornstarch mixed with water. Adjust the thickening time accordingly.
Final Thoughts
Once you’ve experienced the magic of this Creamy Homemade Chicken Gravy from Pan Drippings Recipe, there’s no going back to jarred gravy again. It’s comforting, flavorful, and surprisingly simple to make, turning those pan drippings into something truly special. So next time you roast or pan-sear chicken, treat yourself and your loved ones to this homemade classic—you’ll savor every delightful drop!
Print
Creamy Homemade Chicken Gravy from Pan Drippings Recipe
- Prep Time: 5 minutes
- Cook Time: 15 minutes
- Total Time: 20 minutes
- Yield: 12 servings
- Category: Sauce
- Method: Stovetop
- Cuisine: American
Description
A classic homemade gravy recipe using meat drippings and flour to create a rich and flavorful sauce perfect for enhancing roasts, poultry, and mashed potatoes. This easy-to-make gravy brings depth of flavor with simple pantry ingredients and fresh herbs.
Ingredients
Gravy Ingredients
- ½ cup fat from drippings (or unsalted butter*)
- ½ cup all-purpose flour
- ½ teaspoon poultry seasoning
- 3 to 4 cups drippings (add extra broth if needed)
- 1 tablespoon chopped fresh parsley (and/or fresh herbs to taste, optional)
- salt and black pepper (to taste)
Instructions
- Rest the Meat and Collect Drippings: Once your meat is cooked, transfer it to a plate to rest. Use the liquid from the drippings to scrape any brown bits from the bottom and sides of the pan. Strain the drippings through a fine sieve if desired to remove solids or impurities.
- Separate Fat from Drippings: Allow the drippings to rest for a few minutes in a gravy separator or a tall narrow container so that the fat and drippings separate, with fat rising to the top. Spoon out ½ cup of the fat into a medium saucepan. If you don’t have enough fat, add unsalted butter to reach ½ cup.
- Create Roux with Flour and Seasoning: Stir in the flour and poultry seasoning to the fat and cook over medium heat for 3 to 4 minutes, stirring constantly until the flour slightly browns and develops a nutty aroma, which forms the base of the gravy.
- Add Drippings and Broth Gradually: Gradually add the drippings and/or broth to the roux, whisking continuously to ensure a smooth texture and prevent lumps. The mixture will start thick and will thin out as more liquid is added; you may not need to use all the broth.
- Boil and Thicken the Gravy: Bring the mixture to a boil over medium heat while whisking. Allow it to boil for 1 to 2 minutes until the gravy thickens to your desired consistency.
- Season and Finish: Taste your gravy and season with salt and black pepper as needed. Stir in chopped fresh parsley or other fresh herbs if desired. Serve hot alongside your roast or favorite side dishes.
Notes
- If you don’t have enough fat from drippings, substitute with unsalted butter for best results.
- For a gluten-free version, use a gluten-free flour blend instead of all-purpose flour.
- You can adjust the consistency of gravy by adding more or less broth or drippings.
- Fresh herbs like thyme or sage can be added for an extra flavor twist.
- Use drippings from any roasted meat such as turkey, chicken, or beef for versatile flavor variations.
- Straining drippings is optional but helps ensure smooth gravy without lumps or bits.
