“`html
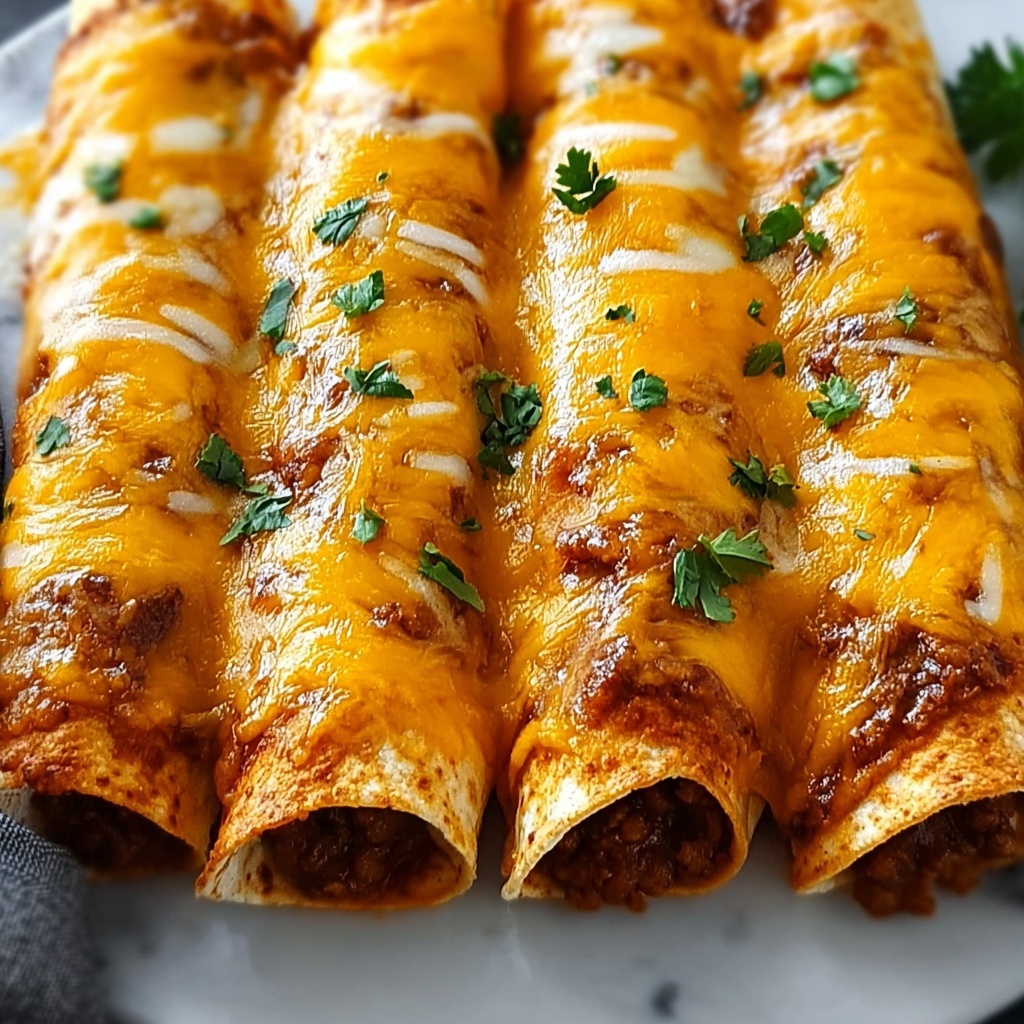
If you are craving something truly comforting and downright delicious, you are about to fall in love with this Cheesy Taco Sticks: Quick, Customizable Comfort Food Delight Recipe. It’s a perfect blend of melty cheese, savory taco-seasoned beef, and tender pizza dough rolled into a handheld, golden-baked treat. Whether it’s a busy weeknight dinner, a snack for friends, or even a game day favorite, these cheesy taco sticks bring a delightful burst of flavor and warmth to any table. Trust me, once you try this recipe, it will quickly become your go-to comfort food whenever you need a delicious pick-me-up!
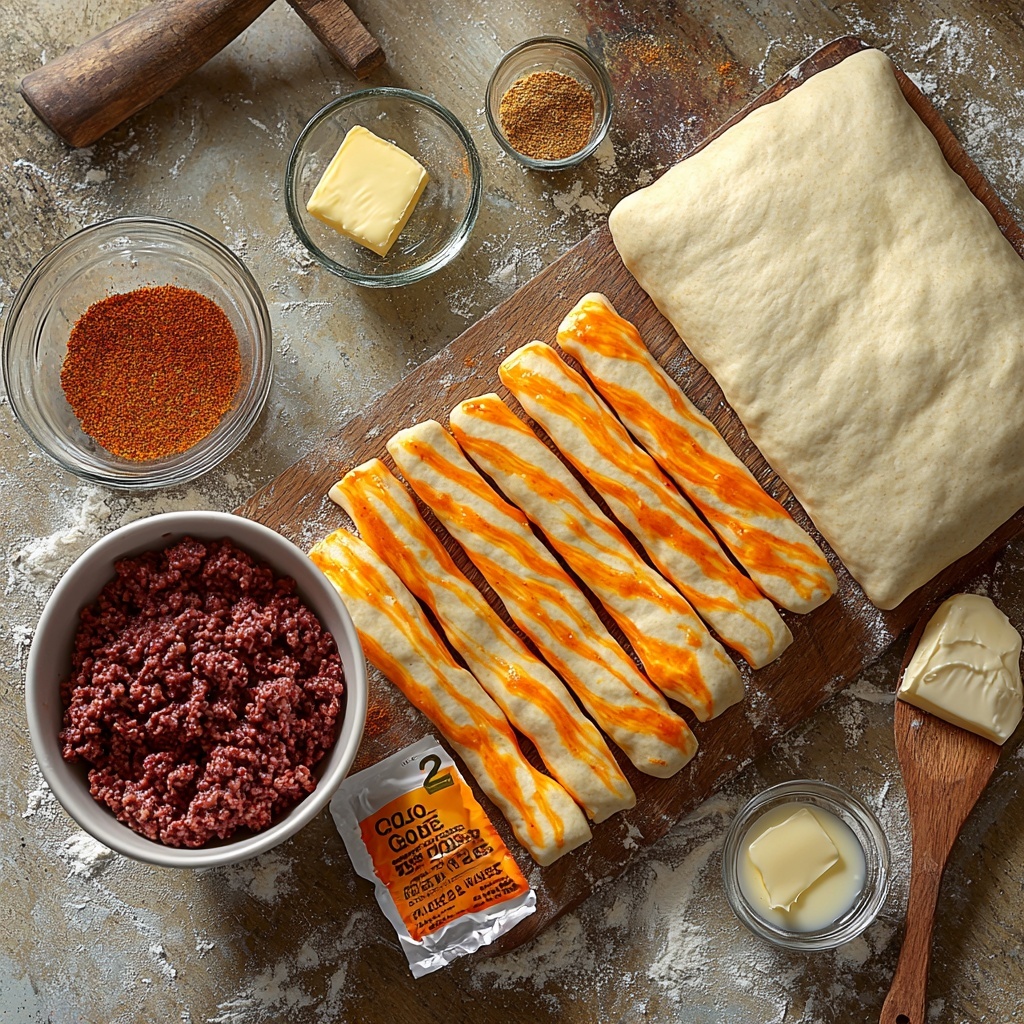
Ingredients You’ll Need
Simple ingredients combine to create the magic in this Cheesy Taco Sticks: Quick, Customizable Comfort Food Delight Recipe. Each one plays a crucial role, from the juicy beef’s hearty flavor to the cheesy stick’s melty goodness, and the dough’s golden, tender outer hug. Here’s exactly what you’ll want to have on hand:
- 1 pound Ground Beef: Use fresh ground beef or turkey for a leaner twist; this is the savory base that makes every bite so satisfying.
- 1 packet Taco Seasoning: A burst of southwestern spices that flavors the beef perfectly—homemade seasoning lets you control sodium and spice levels!
- 2 tablespoons Water: Helps thicken the beef mixture and keeps it juicy when simmered with the seasoning.
- 1 package Refrigerator Pizza Dough: Ready to roll out, this dough creates a soft, golden crust; gluten-free options work wonderfully here too.
- 8 sticks Colby-Jack Cheese Sticks: The melty star of the show; cheddar or dairy-free alternatives can be swapped in to suit your taste and dietary needs.
- 2 tablespoons Butter: Brushed on top for that irresistible golden sheen and added richness; olive oil is an excellent lighter substitute.
- 1 teaspoon Garlic Salt: Adds a savory, aromatic kick to the buttery coating; feel free to use fresh garlic or skip it if you prefer a milder flavor.
How to Make Cheesy Taco Sticks: Quick, Customizable Comfort Food Delight Recipe
Step 1: Prepare the Taco Beef Filling
Start by heating a skillet over medium heat and brown your ground beef for about 5 to 7 minutes until it’s fully cooked and no longer pink. Drain off any excess grease to keep the sticks from getting too oily. Then, stir in the taco seasoning along with 2 tablespoons of water, simmering the mixture for about 2 minutes until it thickens slightly and every bite is infused with that classic taco spice blend.
Step 2: Roll Out and Cut the Dough
While your beef is simmering, grab your refrigerator pizza dough. Roll it out on a lightly floured surface into a rectangular shape, thick enough to hold the filling but still easy to roll. Slice the dough into 8 equal rectangles—these will become your cheesy taco sticks, so try to keep them uniform for even baking.
Step 3: Assemble the Sticks
On each dough rectangle, spoon a generous amount of the seasoned beef mixture, spreading it out but leaving some edge space for sealing. Lay a cheese stick directly on top of the beef. Now it’s time to roll each piece tightly from one end to the other, pinching the seams carefully to seal in all those yummy ingredients so nothing escapes during baking.
Step 4: Add the Garlic Butter Finish and Bake
Mix melted butter with garlic salt to create a fragrant glaze, then brush this liberally over the tops of your rolled sticks. This step is what gives them that beautiful golden color and extra flavor punch. Bake in a preheated oven at 425°F (220°C) for 10 to 12 minutes or until your sticks turn golden brown and the cheese is melt-in-your-mouth gooey. The kitchen will smell incredible by this point—get ready!
How to Serve Cheesy Taco Sticks: Quick, Customizable Comfort Food Delight Recipe
Garnishes
Fresh garnishes elevate this dish to something really special. A sprinkle of chopped cilantro, a dollop of cool sour cream, or a few slices of fresh jalapeño add freshness and a touch of brightness that perfectly balances the rich, cheesy sticks. Don’t underestimate how a simple squeeze of lime juice over the top can brighten every bite.
Side Dishes
Pair these sticks with something light and crunchy to complement the soft, warm texture. A crisp garden salad, seasoned tortilla chips with salsa, or some zesty Mexican street corn make fantastic companions. For a heartier meal, a bowl of black bean soup or a fresh avocado salad rounds things out beautifully.
Creative Ways to Present
Want to impress guests? Slice each cheesy taco stick into bite-sized rounds and serve them with little dipping bowls filled with guacamole, pico de gallo, or spicy queso. You can create a festive platter that invites everyone to mix, match, and savor. These also work great wrapped in foil for easy packing if you’re headed to a picnic or party.
Make Ahead and Storage
Storing Leftovers
If you have any cheesy taco sticks left over (which may be tough!), place them in an airtight container and store in the refrigerator. They’ll keep well for 3 to 4 days, maintaining their flavor and texture when properly cooled.
Freezing
This recipe also freezes beautifully! After baking, allow the sticks to cool completely, then individually wrap them in plastic wrap or foil and place them in a freezer-safe bag or container. They can stay frozen for up to 2 months, making them a fantastic make-ahead treat.
Reheating
To reheat, place your refrigerated or frozen cheesy taco sticks on a baking sheet and warm them in a 350°F (175°C) oven for about 10 minutes, or until heated through and crisp on the outside. Microwave reheating is quicker but can make the dough a little softer and the cheese less gooey, so the oven method is definitely worth the wait!
FAQs
Can I use ground turkey instead of ground beef?
Absolutely! Ground turkey is a leaner option that works perfectly in this recipe. It cooks up just as well and absorbs the taco seasoning beautifully, making your cheesy taco sticks lighter but still flavorful.
What if I don’t have pizza dough?
If you don’t have refrigerated pizza dough, you can use puff pastry or even crescent roll dough as a creative alternative. Each will give a slightly different texture but still delicious results.
How spicy is the recipe?
The spice level mainly depends on the taco seasoning you use. If you like it milder, choose a mild seasoning packet or make your own with less chili powder. For a kick, add some cayenne or hot sauce to the beef mixture before rolling.
Are these cheesy taco sticks gluten-free?
They can be! Simply use a gluten-free pizza dough option and double-check your taco seasoning and cheese for any gluten-containing ingredients. It’s a great recipe to customize for various dietary needs.
Can I make these vegetarian?
Definitely! Replace the ground beef with your favorite spiced beans, lentils, or a plant-based meat substitute, and proceed with the same steps. The melty cheese and dough will still make these a comforting and satisfying meal.
Final Thoughts
There is something so wonderfully satisfying about these Cheesy Taco Sticks: Quick, Customizable Comfort Food Delight Recipe that warms your heart and fills your belly. They are simple to pull together, endlessly adaptable, and delicious every single time. I can’t wait for you to give them a try and discover how this fun, cheesy, and savory dish can bring comfort and joy to your kitchen as it has to mine!
“`
Print
Cheesy Taco Sticks: Quick, Customizable Comfort Food Delight Recipe
- Prep Time: 10 minutes
- Cook Time: 12 minutes
- Total Time: 22 minutes
- Yield: 8 servings
- Category: Snack
- Method: Baking
- Cuisine: Mexican-American
- Diet: Low Fat
Description
Cheesy Taco Sticks are a quick and customizable comfort food treat combining seasoned ground beef, gooey melted cheese, and soft pizza dough. Perfect for weeknight dinners or game day snacks, these savory rolls are baked to golden perfection and bursting with bold taco flavors.
Ingredients
Meat and Seasoning
- 1 pound Ground Beef (or ground turkey for a leaner option)
- 1 packet Taco Seasoning (homemade for controlled sodium)
- 2 tablespoons Water (optional if beef is well-drained)
Dough and Cheese
- 1 package Refrigerator Pizza Dough (gluten-free option available)
- 8 sticks Colby-Jack Cheese Sticks (or cheddar/dairy-free cheese)
Finishing Touches
- 2 tablespoons Butter (or olive oil for a lighter option)
- 1 teaspoon Garlic Salt (fresh garlic can be substituted or omitted)
Instructions
- Preparation: Preheat your oven to 425°F (220°C) to ensure it is hot and ready for baking the taco sticks to a perfect golden brown.
- Cook the Meat: In a skillet over medium heat, brown 1 pound of ground beef for about 5-7 minutes, stirring occasionally and draining any excess grease to keep the filling moist but not oily.
- Season the Meat: Add the taco seasoning packet and 2 tablespoons of water to the cooked beef, then simmer for about 2 minutes until the mixture thickens and flavors combine well.
- Prepare the Dough: Roll out the pizza dough on a lightly floured surface and cut it into 8 equal rectangles to serve as the base for each taco stick.
- Assemble the Taco Sticks: Spoon the seasoned beef mixture evenly onto each dough rectangle, then place one cheese stick on top of the beef in each piece.
- Roll and Seal: Carefully roll each dough rectangle tightly around the cheese and beef, pinching the seams firmly to seal and prevent filling leakage while baking.
- Brush with Butter and Garlic Salt: Mix melted butter with garlic salt and brush this flavorful coating over each rolled taco stick to add richness and promote browning.
- Bake: Place the prepared taco sticks on a baking sheet and bake in the preheated oven for 10-12 minutes until the dough is golden brown, crisp on the outside, and the cheese inside has fully melted.
Notes
- Substitute ground turkey for a leaner protein option.
- Use gluten-free pizza dough for a gluten-free version.
- Swap butter with olive oil for a healthier fat alternative.
- Omit garlic salt or use fresh garlic for a different flavor profile.
- Serve warm with salsa, sour cream, or guacamole for extra flavor.
- Ensure the seams of the dough are sealed well to prevent cheese leakage during baking.


