“`html
If you’ve ever dreamed of baking your own tangy, crusty artisan bread at home, then you absolutely need to master the foundational magic of sourdough: the starter. Learning How to Make a Classic Sourdough Starter from Scratch Recipe is like welcoming a living, bubbling companion into your kitchen who will reward you with the most flavorful loaves. This simple yet incredible mixture of flour and water captures wild yeast and natural bacteria, creating that beloved rise and rich depth of taste that no commercial yeast can replicate. Let me share everything you need to know to cultivate your very own sourdough starter, step by step, so you can start your journey toward bread baking bliss.
Ingredients You’ll Need
Getting started couldn’t be more straightforward—just two humble ingredients that work together like kitchen superheroes. Each element plays a vital role: the flour provides the food for the wild yeast and bacteria, while the lukewarm water activates and nurtures their growth, ensuring your starter bubbles to life with the perfect texture and tang.
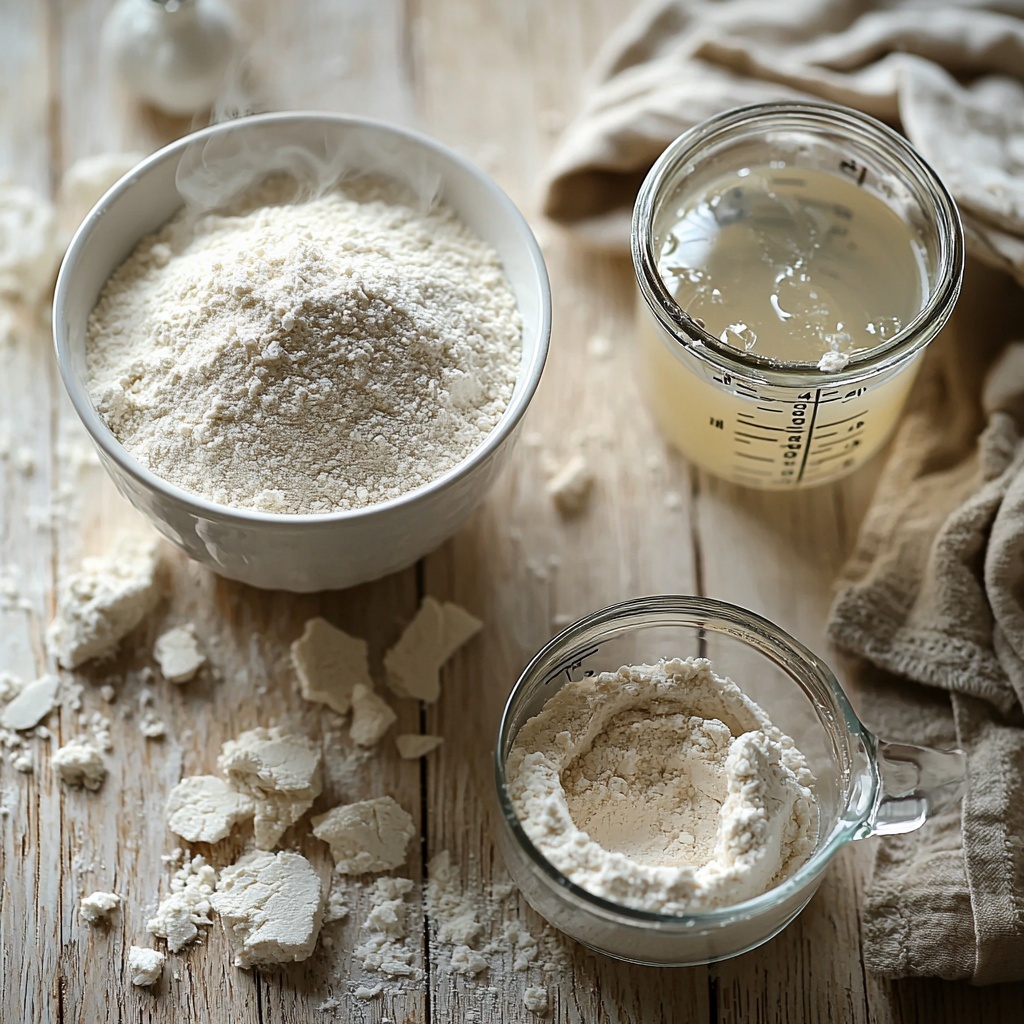
- 1 cup of all-purpose flour: Choose a fresh, unbleached flour for the best natural yeasts and nutrients to thrive.
- 1/2 cup of lukewarm water: Gently warmed to encourage fermentation without killing any beneficial microorganisms.
How to Make How to Make a Classic Sourdough Starter from Scratch Recipe
Step 1: Mix Flour and Water
The magic begins by combining 1 cup of all-purpose flour with 1/2 cup of lukewarm water in a clean glass or plastic container. Stir the mixture thoroughly to eliminate any lumps—this helps create a uniform texture that’s easier for the yeasts to thrive in. Using a non-metal container avoids any unwanted reactions with your starter.
Step 2: Cover and Rest
Next, cover your container loosely with a clean kitchen towel or plastic wrap, leaving just enough space for fresh air to enter. Placing the container in a warm, draft-free spot (think around 70-75°F) away from direct sunlight encourages the wild yeast to get busy. This is where your starter begins its slow journey, feeding on the flour and turning that simple mixture into a bubbling, alive culture.
Step 3: Allow Fermentation
Now the waiting game starts! Let your mixture sit at room temperature for 24 hours. By this time, you should start noticing some bubbles forming on the surface—this bubbling is a wonderful sign that fermentation is well underway and your starter is beginning to reveal its character and life force.
Step 4: Discard and Feed
After the first 24 hours, it’s time for a little maintenance. Discard half of the mixture—this step might feel wasteful but it’s crucial for balancing acidity and maintaining healthy yeast activity. To the remaining starter, add 1/2 cup of flour and 1/4 cup of lukewarm water and stir everything together until smooth. This fresh “feeding” encourages the yeast to keep multiplying and strengthens the starter’s rise potential.
Step 5: Repeat Feeding Routine
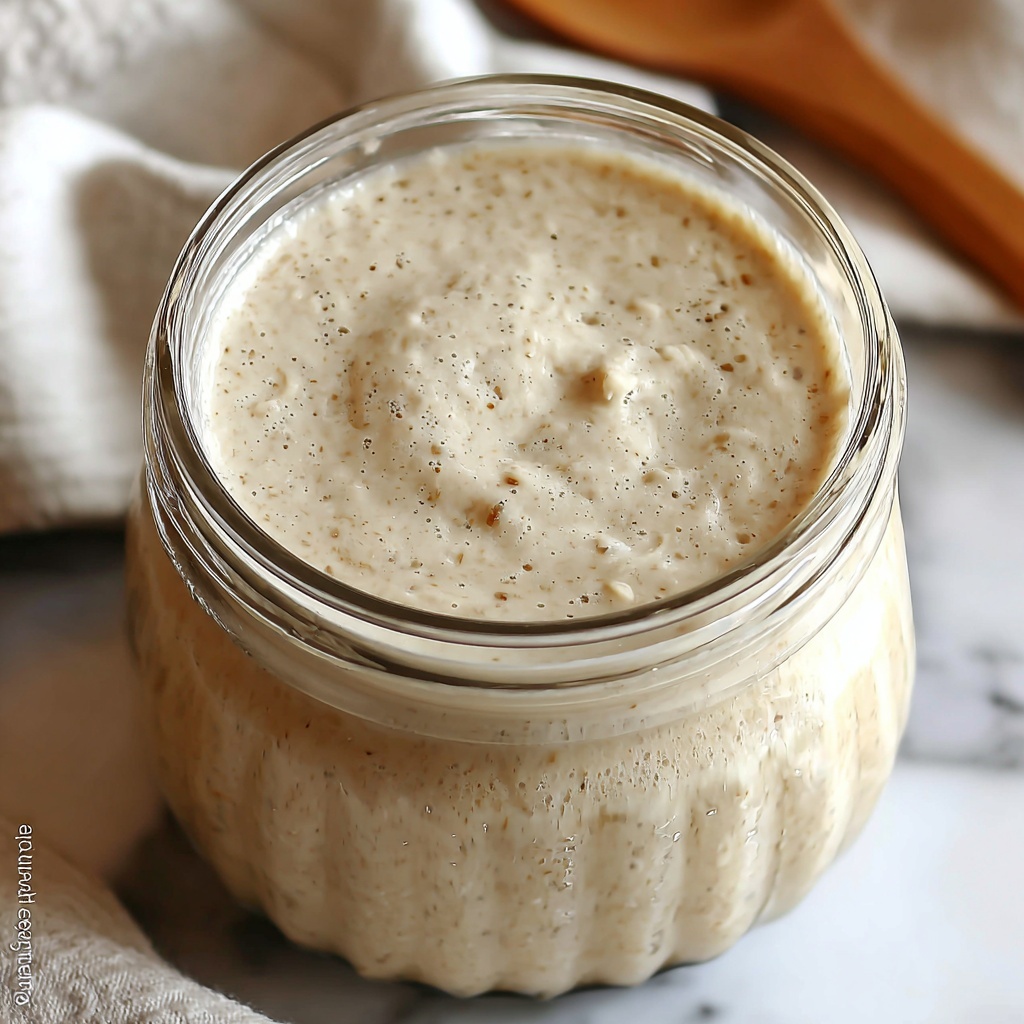
Continue covering the container and resting it at room temperature for another 24 hours. Repeat the discard-and-feed process daily, watching as your starter becomes more bubbly, fragrant, and active. Typically, this takes about 5 to 7 days total. Once your starter reliably doubles in size and has a pleasantly tangy smell, you’ve successfully mastered the heart of sourdough. Congratulations!
How to Serve How to Make a Classic Sourdough Starter from Scratch Recipe
Garnishes
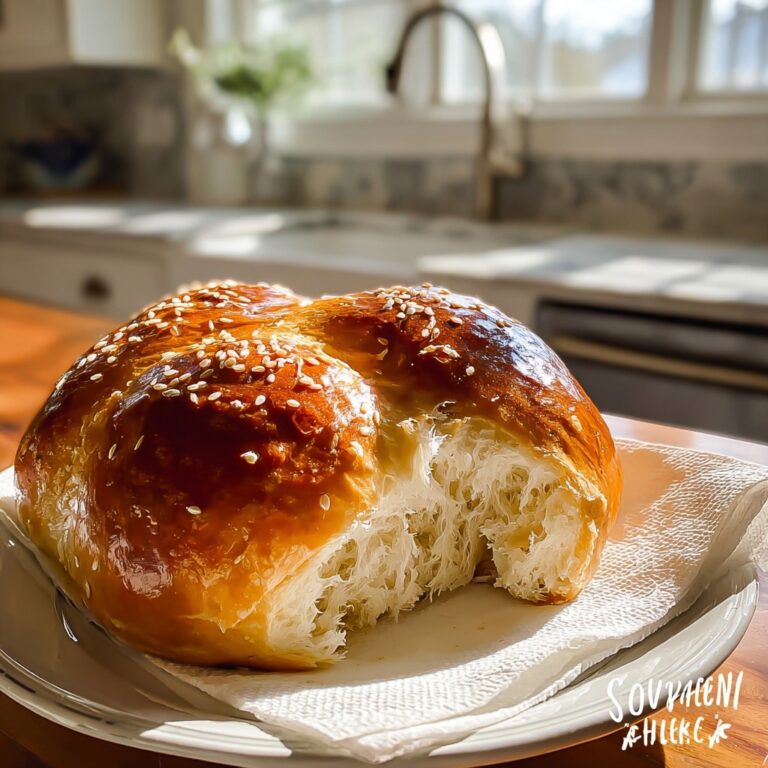
While a sourdough starter is a living ingredient itself and not served on its own, some bakers like to enhance their breads garnished with seeds like sesame, poppy, or sunflower on top for a crunchy touch and visual appeal. Fresh herbs or coarse sea salt sprinkled over a loaf before baking also add exciting flavors that highlight the depth your starter brings.
Side Dishes
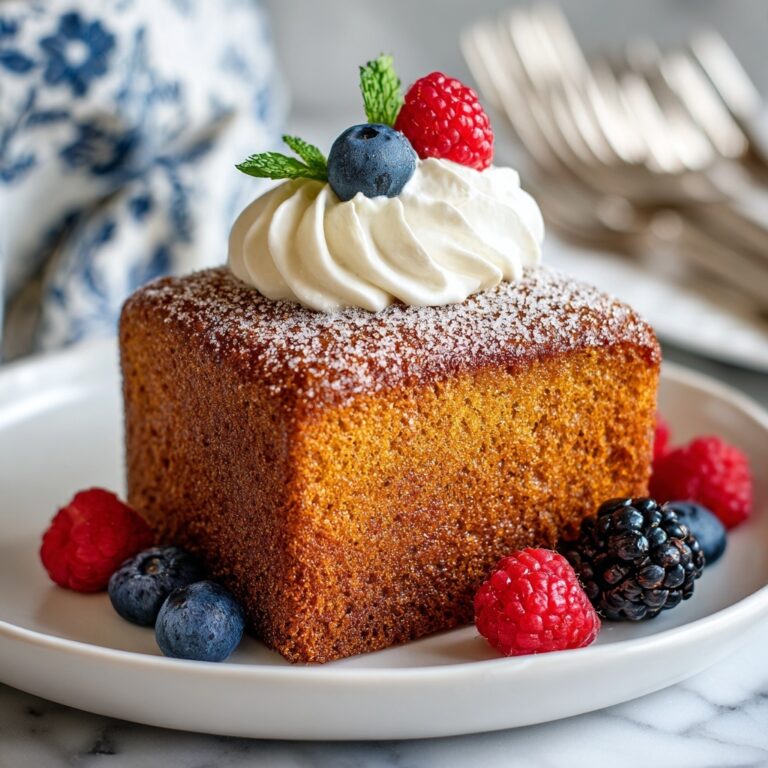
Think about pairing your freshly baked sourdough bread with classic sides such as creamy butter, tangy cheeses, or wholesome soups and stews. The sourdough’s tangy notes beautifully complement savory and sweet flavors alike, transforming any meal into an inviting feast. A warm bowl of tomato basil soup or a vibrant salad are perfect companions.
Creative Ways to Present
Get adventurous by using your starter to create sourdough pancakes, waffles, or even tangy pizza crusts. Presenting your baked goods in rustic baskets lined with linen or on wooden boards makes sharing with family and guests feel extra special. You can even infuse your starter into homemade crackers or pretzels for deliciously tangy snacks.
Make Ahead and Storage
Storing Leftovers
If you have leftover starter once you’ve fed it, you can keep it alive by storing it in the refrigerator. Cover it loosely and feed it at least once a week. This slows fermentation to a leisurely pace and keeps your starter ready whenever you want to bake. Remember to bring it back to room temperature and feed it a day before baking to wake it up.
Freezing
Though best kept active in the fridge, sourdough starter can be frozen for long-term storage. Portion your starter into an airtight container or freezer bag and freeze it. When you’re ready to bake again, allow it to thaw completely and feed it daily for several days until it’s bubbly and active prior to use.
Reheating
Starter doesn’t require reheating per se, but if refrigerated or frozen, returning it to room temperature and regular feeding is essential to reactivate it. Avoid heating it directly as high temperatures can kill the yeast. Simply treat it gently with time and nourishment for best results.
FAQs
How do I know when my sourdough starter is ready to use?
Your starter is ready when it reliably doubles in size within 4 to 6 hours of feeding and is covered with bubbles throughout. It will also have a pleasant tangy aroma—not overly sour or unpleasant.
Can I use whole wheat or rye flour instead of all-purpose?
Absolutely! Whole wheat and rye flours encourage more rapid fermentation due to their higher nutrient content, and many bakers prefer them for their robust flavor. Just be consistent with your flour choice for feeding to maintain starter stability.
What should I do if my starter develops a pink or orange hue?
This discoloration suggests unwanted bacterial growth, and it’s best to discard that batch and start fresh. Clean your container carefully before trying again, and ensure your environment is clean and the container loosely covered for good airflow.
Why do I need to discard part of the starter during feeding?
Discarding controls the starter’s volume and acidity. Without discarding, the starter can become overly acidic and unbalanced, which inhibits yeast growth and leads to poor fermentation. It’s a key step to keep your starter healthy and active.
Can I use tap water for my starter?
It depends on your tap water. Chlorinated water can inhibit yeast activity, so using filtered, bottled, or dechlorinated water (left out overnight to dissipate chlorine) is often recommended for best results.
Final Thoughts
Starting your own sourdough starter is one of the most rewarding kitchen adventures you can embark on, and now you have a clear, friendly guide to How to Make a Classic Sourdough Starter from Scratch Recipe. With just flour and water, plus a little patience, you’re setting in motion a living ingredient that will bring homemade bread to new heights of flavor and satisfaction. I can’t wait for you to taste your first loaf made from scratch—it’s truly something special. Happy baking!
“`
Print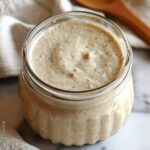
How to Make a Classic Sourdough Starter from Scratch Recipe
- Prep Time: 5 minutes
- Cook Time: 0 minutes
- Total Time: 7 days 5 minutes
- Yield: 1 serving (starter enough to bake several loaves)
- Category: Baking Ingredient
- Method: No-Cook
- Cuisine: Universal
- Diet: Vegetarian
Description
This simple sourdough starter recipe guides you through the essential process of cultivating a natural yeast culture at home. Using just all-purpose flour and lukewarm water, this starter becomes the foundation for making delicious, tangy sourdough bread through natural fermentation over several days.
Ingredients
Starter Ingredients
- 1 cup all-purpose flour
- 1/2 cup lukewarm water
- Additional for feeding: 1/2 cup all-purpose flour and 1/4 cup lukewarm water
Instructions
- Mix Flour and Water: Combine 1 cup of all-purpose flour with 1/2 cup of lukewarm water in a clean glass or plastic container. Stir thoroughly to eliminate lumps and ensure a smooth mixture.
- Cover and Rest: Cover the container loosely with a clean kitchen towel or plastic wrap to allow airflow while preventing contaminants. Place it in a warm spot away from direct sunlight to encourage fermentation.
- Allow Fermentation: Let the mixture sit undisturbed at room temperature for 24 hours. After this period, you should start seeing bubbles forming on the surface, indicating active fermentation and yeast growth.
- Discard and Feed: To maintain a healthy starter, discard half of the mixture. Then add 1/2 cup of fresh flour and 1/4 cup of lukewarm water to the remaining starter. Stir well to combine all ingredients.
- Repeat Feeding Routine: Cover the container again and let it rest at room temperature for another 24 hours. Continue this daily feeding process for 5 to 7 days until the starter is bubbly, active, and ready to use for baking.
Notes
- Use lukewarm water around 75°F (24°C) to encourage fermentation without killing the yeast.
- Use a glass or plastic container for best observation of the fermentation process.
- Keep the starter in a warm, draft-free place ideally between 70-75°F (21-24°C).
- Feeding the starter daily is crucial to maintain yeast activity and acidity balance.
- If mold or an unpleasant smell develops, discard the starter and start anew.
- The sourdough starter can be stored in the refrigerator once fully active, feeding once a week.


