“`html
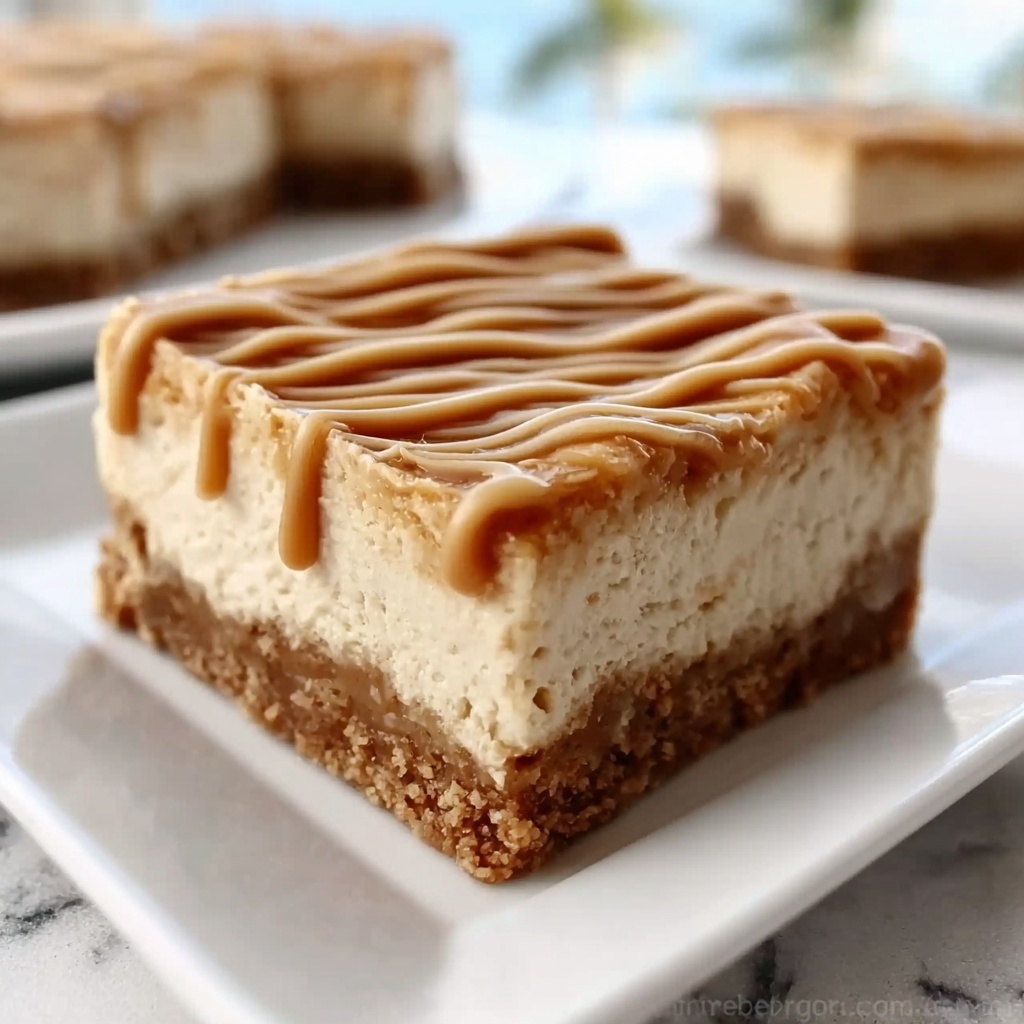
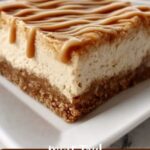
If you have a serious sweet tooth and a soft spot for nostalgic treats, you’re about to fall head over heels for this Peanut Butter Lunch Lady Bars Recipe. Imagine a crunchy graham cracker crust layered with a luscious, creamy peanut butter filling, all topped with a smooth, chocolatey glaze that sets perfectly in the fridge. This dessert delivers the perfect balance of textures and flavors, making every bite feel like a comforting trip back to lunchroom indulgence. Whether you’re baking for a crowd or just craving a rich snack to brighten your day, these bars have “favorite” written all over them.
Ingredients You’ll Need
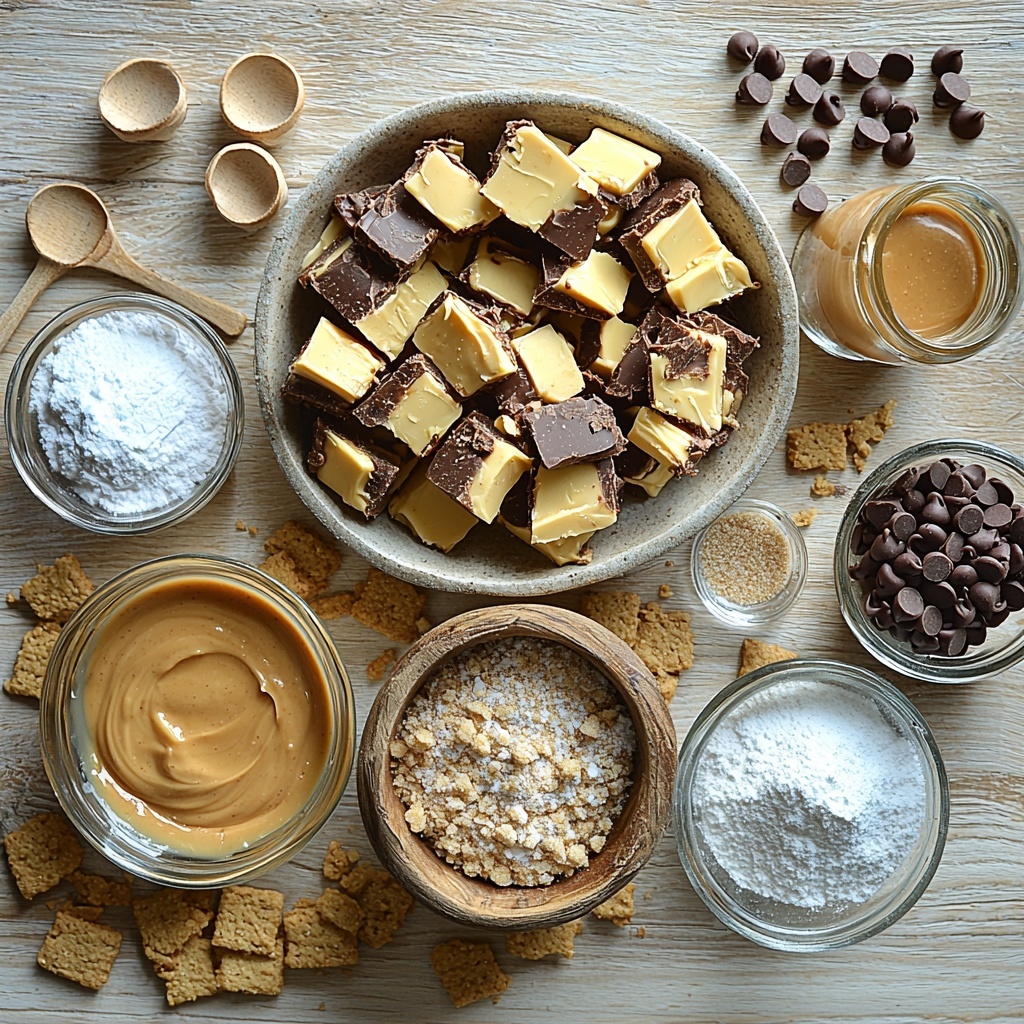
These ingredients are straightforward but essential to getting that iconic Peanut Butter Lunch Lady Bars Recipe just right. Each one plays a key role—from the buttery graham cracker crust to the velvety peanut butter center and the silky chocolate topping that finishes it all off beautifully.
- 1 cup unsalted butter, melted: This forms the buttery base of the crust, adding richness and helping bind the graham cracker crumbs together.
- 2 cups graham cracker crumbs: The backbone of the crust, providing a crispy, slightly sweet crunch.
- 1/2 cup granulated sugar: Sweetens and balances the crust perfectly without overpowering.
- 1 cup unsalted butter, softened: Makes the peanut butter filling luxuriously creamy and smooth.
- 1 cup creamy peanut butter: The star of the filling, lending that irresistible nutty flavor and velvety texture.
- 2 cups powdered sugar: Sweetens and thickens the peanut butter layer to the perfect consistency.
- 2 teaspoons vanilla extract: Adds a subtle warmth and depth to the filling, rounding out the flavors.
- 1 cup semisweet chocolate chips: For a rich, melty top layer that brings everything together.
- 1/4 cup creamy peanut butter: Mixed with the chocolate for an extra peanut buttery touch in the topping.
How to Make Peanut Butter Lunch Lady Bars Recipe
Step 1: Prepare the Crust
Begin by preheating your oven to 350°F and lining a 9×13-inch baking pan with parchment paper to ensure easy removal later. In a large bowl, combine the melted butter, graham cracker crumbs, and granulated sugar until the mixture clings together nicely. Press this crumbly mixture firmly and evenly into the bottom of your pan; this will create the perfect crunchy foundation for your bars. Pop it in the oven for 10 minutes, then allow it to cool completely before moving on. This step is crucial so your filling doesn’t melt or slide.
Step 2: Whip Up the Peanut Butter Filling
While the crust cools, grab your mixing bowl and beat the softened butter with the creamy peanut butter until smooth and fluffy—this is where the magic happens, transforming simple ingredients into a light, dreamy filling. Slowly incorporate the powdered sugar and vanilla extract, beating continuously until the mixture achieves a creamy and spreadable consistency. The filling should be rich but light enough to spread effortlessly over the crust, creating that classic luscious layer that everyone loves.
Step 3: Layer the Filling
Once your crust is fully cooled, carefully spread the peanut butter filling evenly on top. Take your time here—smooth it out so it covers every inch of the crust, making sure your bars will have that satisfying even bite every time. This layer is where the flavor truly shines and provides that melt-in-your-mouth feel.
Step 4: Make the Chocolate Peanut Butter Topping
For the crowning glory, melt the semisweet chocolate chips with the remaining 1/4 cup creamy peanut butter in 20-second bursts in the microwave, stirring in between to ensure a perfectly smooth and glossy mixture. This combination adds an extra punch of flavor and creates a silky top that hardens to a delightful snap once chilled.
Step 5: Assemble and Chill
Pour the melted chocolate-peanut butter mixture over the filling and spread it evenly with a spatula to cover the entire surface. Finally, refrigerate the bars for at least 1 hour until the whole thing is fully set. The chilling step is what gives these bars their signature firm yet creamy texture, making them easy to slice into neat squares and impossible to resist.
Step 6: Slice and Serve
After chilling, carefully lift the bars out using the parchment paper and cut them into 16 equal pieces. Serve these beauties chilled or at room temperature, and prepare for lots of happy smiles.
How to Serve Peanut Butter Lunch Lady Bars Recipe
Garnishes
While these bars are stunning on their own, a light dusting of powdered sugar or a sprinkle of crushed peanuts can add a little extra flair and texture. You could even drizzle a thin line of melted white chocolate across the top for a fun contrast that pleases the eye as much as the palate.
Side Dishes
These bars pair wonderfully with a cold glass of milk or a cup of hot coffee, balancing their sweetness perfectly. For brunch or an afternoon snack, serve alongside fresh fruit like sliced strawberries or banana for a pop of freshness and color.
Creative Ways to Present
Think beyond just serving them as bars! Cut them into bite-size squares for a party platter, layering them with whipped cream and fresh berries for a quick dessert parfait. Or sandwich two bars with ice cream in between for a nostalgic, dreamy peanut butter and chocolate ice cream sandwich.
Make Ahead and Storage
Storing Leftovers
Once prepared, store these Peanut Butter Lunch Lady Bars in an airtight container in the refrigerator. They will stay fresh and delicious for 3-4 days, making them a perfect treat to enjoy throughout the week without losing any of that buttery, chocolatey goodness.
Freezing
If you want to keep your bars longer, wrap them tightly in plastic wrap and foil, then freeze for up to 3 months. When you’re ready to indulge, simply thaw overnight in the refrigerator for the best texture and flavor.
Reheating
These bars are best enjoyed chilled or at room temperature, so reheating is generally not recommended. However, if you prefer them softer, let them sit out for 15-20 minutes before serving to take the chill off.
FAQs
Can I use crunchy peanut butter instead of creamy?
Absolutely! Crunchy peanut butter will add a bit of extra texture to the filling and topping, giving your bars a delightful crunch with every bite.
Is it possible to make this recipe gluten-free?
Yes, just substitute the graham cracker crumbs with a gluten-free variety, and double-check all your other ingredients are certified gluten-free for a safe and tasty treat.
Can I substitute butter with margarine or oil?
Butter provides essential flavor and texture here, so while you can experiment with margarine, using oil will change the structure of the crust and filling, possibly making the bars less sturdy.
What if I don’t have a microwave for melting the chocolate?
No worries! You can melt the chocolate and peanut butter together in a heatproof bowl set over a pan of simmering water, stirring frequently until smooth.
How do I cut the bars cleanly without crumbling?
Use a sharp knife warmed by dipping in hot water and wiping dry before slicing. This helps create clean cuts and prevents your bars from breaking apart.
Final Thoughts
Honestly, once you make this Peanut Butter Lunch Lady Bars Recipe, you’ll wonder how you ever lived without it. The delightful layers, that nostalgic flavor combo, and the ease of preparation make it a go-to dessert in my kitchen. Whether it’s for a special occasion, a thoughtful gift, or just a sweet pick-me-up, these bars never fail to impress and satisfy. So grab your ingredients and get ready to bake up some joy—your taste buds will thank you!
“`
Print
Peanut Butter Lunch Lady Bars Recipe
- Prep Time: 20 minutes
- Cook Time: 10 minutes
- Total Time: 1 hour 30 minutes
- Yield: 16 servings
- Category: Dessert
- Method: Baking
- Cuisine: American
- Diet: Vegetarian
Description
These Peanut Butter Lunch Lady Bars are a nostalgic, no-bake treat featuring a crunchy graham cracker crust, a creamy peanut butter filling, and a rich chocolate peanut butter topping. Perfectly sweet and indulgent, they’re easy to prepare and set in the fridge for a delicious dessert or snack.
Ingredients
Crust
- 1 cup unsalted butter, melted
- 2 cups graham cracker crumbs
- 1/2 cup granulated sugar
Peanut Butter Filling
- 1 cup unsalted butter, softened
- 1 cup creamy peanut butter
- 2 cups powdered sugar
- 2 teaspoons vanilla extract
Chocolate Topping
- 1 cup semisweet chocolate chips
- 1/4 cup creamy peanut butter
Instructions
- Preheat and Prepare Pan: Preheat your oven to 350°F (175°C) and line a 9×13-inch baking pan with parchment paper to prevent sticking and make removal easier.
- Make the Crust Mixture: In a large bowl, combine 1 cup of melted unsalted butter, 2 cups of graham cracker crumbs, and 1/2 cup of granulated sugar. Mix thoroughly until the ingredients are fully blended.
- Bake the Crust: Press the graham cracker mixture firmly and evenly into the prepared baking pan. Bake it in the oven for 10 minutes, then remove and allow it to cool completely.
- Prepare Peanut Butter Filling: Using a mixing bowl, beat 1 cup of softened unsalted butter together with 1 cup of creamy peanut butter until the mixture becomes smooth and fluffy.
- Add Sweeteners and Flavor: Gradually add 2 cups of powdered sugar and 2 teaspoons of vanilla extract into the peanut butter mixture. Continue beating until the filling is creamy and well incorporated.
- Spread Filling on Crust: Evenly spread the peanut butter filling over the cooled graham cracker crust, ensuring a smooth, uniform layer.
- Melt Chocolate and Peanut Butter Topping: In short 20-second intervals, melt 1 cup of semisweet chocolate chips with 1/4 cup of creamy peanut butter, stirring after each interval until the mixture is smooth and fully combined.
- Apply Chocolate Layer: Pour and spread the melted chocolate and peanut butter mixture evenly over the peanut butter filling layer.
- Chill Bars: Refrigerate the assembled bars for at least 1 hour to allow the layers to set firmly.
- Slice and Serve: Once fully set, slice the bars into 16 equal pieces and serve.
Notes
- Make sure the crust cools completely before spreading the filling to prevent melting.
- You can substitute crunchy peanut butter if preferred for added texture.
- The bars are best stored in the refrigerator and consumed within 5 days.
- For easier cutting, warm the knife blade slightly before slicing.
- These bars can be frozen for up to 2 months; thaw in the refrigerator before serving.